
THIS VINTAGE JUNGLE SERIES first appeared in 2002; because it was popular with visitors, I am sharing it again now. The series was written for the 3rd Edition of Warhammer 40,000, but I have made some revisions to the original posts to account for changes to the game, and to broaden its scope to wargames in general.
Previous entries in this series:
- Introduction by Kenton Kilgore
- Army Selection, Part 1 by Stan Reed
- Army Selection, Part 2 by Ken Lacy
- General Strategy by Paul Hill
Editor’s note: Veteran gamer Rob Van Pelt says:
I started in 2nd edition with Imperial Guard and continued in 3rd Edition with IG and also started Dark Eldar and an Armored Company.
I have played in 3 Rogue Trader Tournaments. In the first two, I did not do so hot with my DE and IG. In the third, I scored 5th overall with my Armored Company. I have been tracking my record with my Dark Eldar since March 2002 and am currently at 7 wins and 1 loss.
I don’t track my other armies’ wins, but I generally have a win rate of 75% with my Necrons, 67% with my Armored Company, and 50% with my IG.
This series is designed to provide a summary of advanced tactics for playing Warhammer 40K. The goal is to allow players to read the thoughts and ideas presented in this series and then to use what they like in their own games to improve their chances of victory.
The most important thing to always remember is that this is a game and as such should be viewed as a recreational activity for socialization and fun. However, I hope I can provide an edge to give the reader a victory in a competitive environment such as a tournament or in a match with an old rival.
I do not endorse cut-throat playing or poor sportsmanship and that is not the intent of this article. I intend to present a smart playing style, utilizing the strengths of your own army, the weaknesses of your opponent’s army, the terrain layout, and the mission objectives.
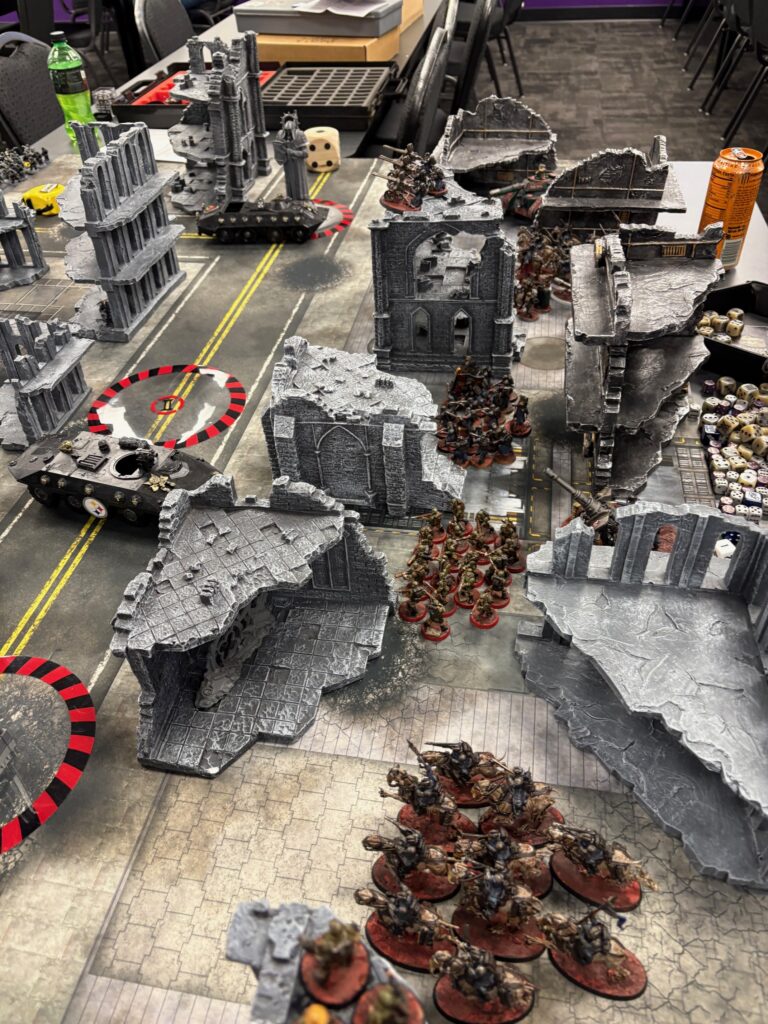
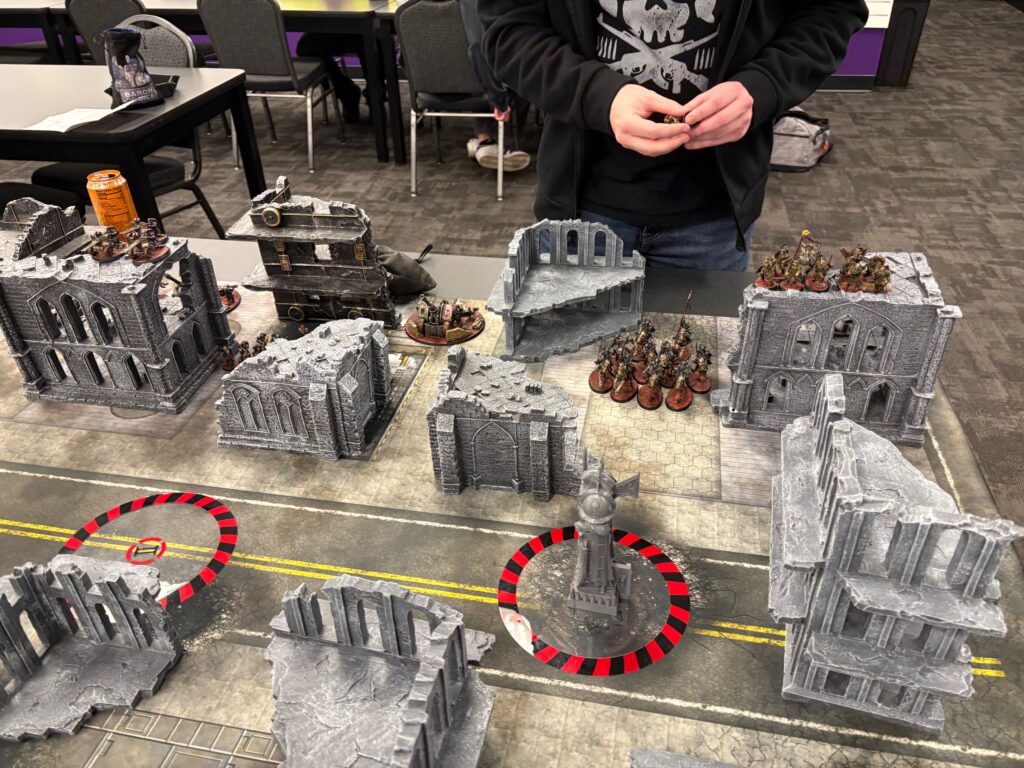
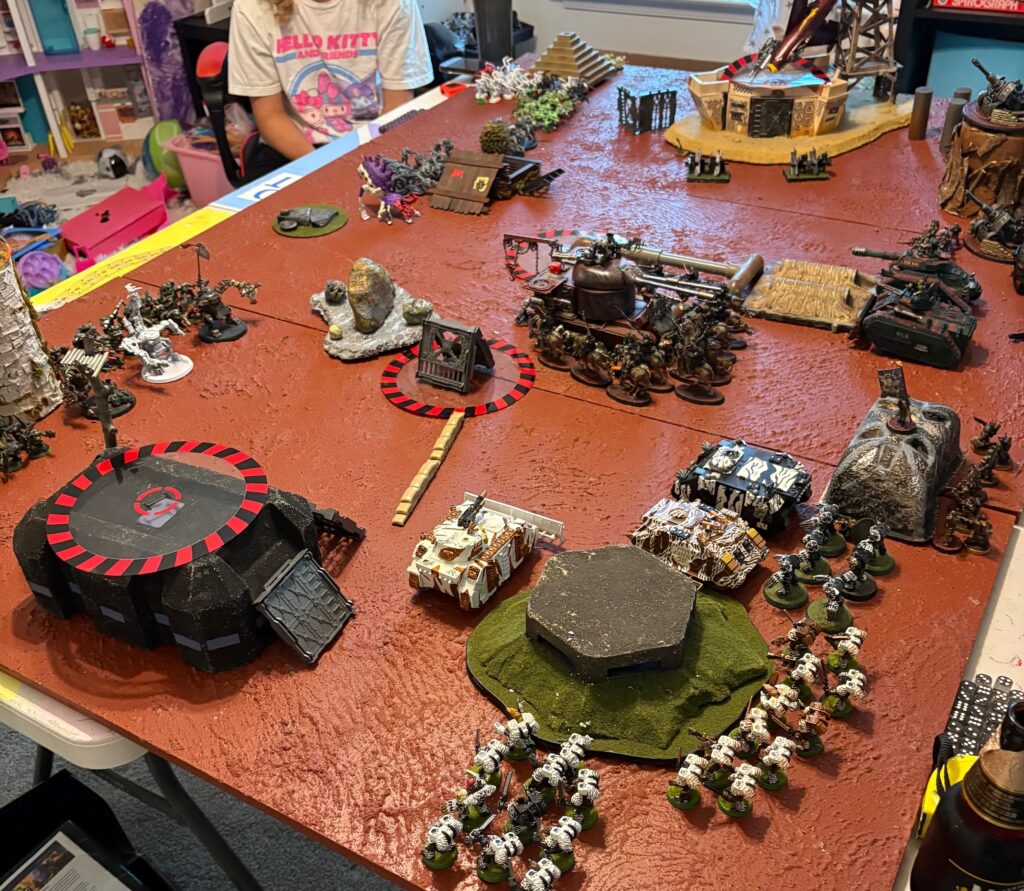
Deployment
by Rob Van Pelt
Most new players think deployment is just throwing your figures down on the table top to get it on. The first thing most players learn is to deploy in cover and to make sure you have decent line of sight. That is good for starters, but deployment goes beyond that.
There are many tactical considerations that go into deploying your forces. Essentially, deploying can be as much of a tactical game as the rest of the game after that. If you have ever played Risk and know some of the finer points to claiming territories in the setup of the game, then you have a good idea of how critical deploying can be.
It is all about denial and opportunity. You are denying your opponent choices and creating opportunities for yourself.
I will split this article into two distinct sections, one on “shooty” armies and one on “assault” armies. A “shooty” army is one that has an inclination to engage an enemy at range and to avoid a close-up confrontation, if possible. An “assault” army is one that has a preference to engage the enemy up close in melee, and to avoid a protracted long-range fire fight if possible.
The basic premise of a shooty army is to kill the enemy at range. When deploying, the first consideration is the distance between your lines. Obviously, the more, the better, since some armies can assault a distance of 18-24″ in one turn easily.
In a mission where you deploy in “quarters” of the table, you want to put your forces along the two table edges. This leaves you as much as 36-42″ between your lines and the enemy on a 4′ x 6′ table. Your deployment along the back edges allows the most distance to be crossed while allowing your flanking units to to branch out and claim quarters or objectives. Thus, keep your fastest units like vehicles, calvary, etc. on the flanks.
In missions where you deploy along opposite sides or corners, always choose corners in preference to sides, if you have the choice. In these missions, it is best to split your forces. Divide your units evenly and place one on your right flank and one on your left flank, leaving a large gap in-between.
This presents an enemy with a choice: either split his forces and attempt to engage both flanks at once, or keep his forces together to hit one flank first, leaving the second for later. This setup allows you sacrifice one flank to annihilate the enemy.
If they split, you can concentrate everything on one half of his army. You will lose one half to his assaults. But the half that got shot at should be so crippled that they will not be a problem. Then as long as the sacrificial half ties them up long enough, you are in a strong position to take out the rest of his army as it advances through the gap.
If he does not split his forces, then use the same strategy. Either way, this deployment provides a bait with two strong firing positions.
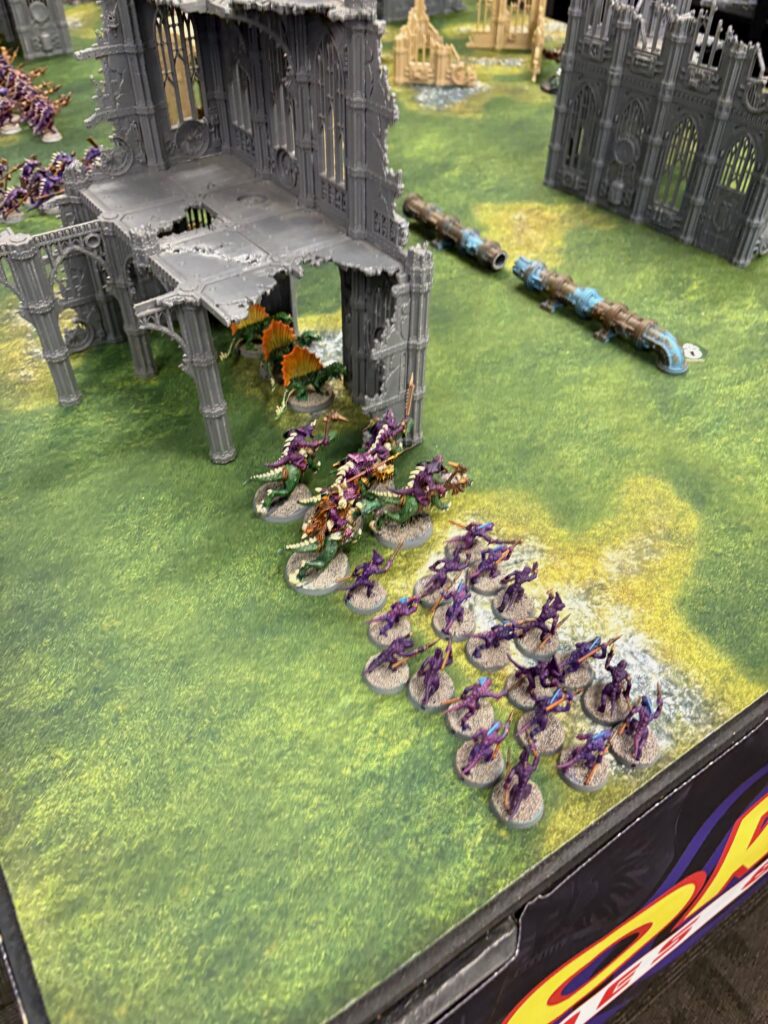
With assault armies, the goal is to get to the enemy as quickly as possible. This is the exact opposite of shooty armies, in that you want the least distance possible between forces.
In “quarters” deployment, you generally want to deploy first. If you have a slower assault army, like Orks on foot or Rhino-borne Marines, you should deploy along one dividing line to rush a flank. If you have a faster army like Tyranids or Drukhari, disperse in your deployment zone to keep the enemy guessing; once the battle begins, use your speed to consolidate on one flank.
For missions where you deploy along opposite sides or corners, you want to deploy in the corners, in the best position to allow you to hit one flank of the enemy. If you see a shooty army deploying with the gap as mentioned earlier, your best bet is to hit one flank at its closest point to the middle, near the gap. Hence, deploy towards the middle of your zone.
No matter the mission, cover is essential, even more so to an assault army, especially an elite one with fewer numbers. Having your units out of line of sight or at least in cover is necessary. You should always deploy as if going second unless you know from the mission that you will be going first. Terrain should be used to protect your initial deployment and to allow you to advance on the enemy, unmolested by their shooting.
For shooty armies, cover is usually less of a necessity as they either have the numbers to absorb damage, or the opposing army won’t be shooting much because they are an assault army. Deploy tanks and important units in cover.
The most important thing is to create and keep clear fire lanes. Generally, you want most of the terrain that blocks line of sight to be in the enemy’s deployment zone so that when he emerges, he will be vulnerable. Any terrain in your deployment zone can be used against you as it blocks off line of sight.
Remember, deployment is more than throwing your minis down on the table. It can make or break your entire game. If a shooty army is not properly deployed they will be out of position to maximize their shooting phases and will waste valuable time repositioning.
For an assault army, bad deployment could be devastating if the enemy gets the first turn and is able to cripple enough of your army to scrub your assault plans. For example, if a mechanized force loses half of their transports, they will either hit the enemy piecemeal or the whole army will be slowed down and vulnerable to fire for longer. Deployment sets the stage for your strategy and provides the launch pad for a victory.
Editor’s note: For more on deployment, see the series “Deployment for Dumbasses (Like Me)”
Up next: Master Wargamer Lee Loftis discusses improvising.

“SAGE” IS COMING! If you love fantasy roleplaying games but hate the clunky rules of old editions, or the bloat and lameness of new editions, you’re going to love SAGE!
SAGE stands for “Simple & Awesome Gaming Engine,” and it’s a fun and easy way to adventure, meant for busy people (new players and veterans) who don’t have the time or inclination to power through 500+ pages of rules spread across multiple books.
SAGE is the game I’ve been wanting to build for the past 30 years, and soon I can share it with you. I have not used any AI when writing or editing SAGE, or for any of its artwork, because AI sucks, and you deserve better.
SAGE is a labor of love designed by gamers for gamers; it’s not a cash grab by a big corporation that only cares about churning out product. Everything the players need will be in one slim, softcover volume. A separate book (about the same size) for the game master will cover monsters, treasure, and magical items. That’s it. Nothing else needed. All reasonably priced, with minimal frills. And, of course, there will be digital versions you can pull up on your phone.
Look for the Players Rulebook early this year, and the Game Master’s Guide in late 2026 or early 2027. You can read more about SAGE here and here and here. Visit www.sagefantasyrpg.com.
Kenton Kilgore writes books for kids, young adults, and adults who are still young. Follow Kenton on Facebook for frequent posts on sci-fi, fantasy, and other speculative fiction. You can also catch him on Instagram.