THIS VINTAGE JUNGLE POST first appeared in 2015. Because it was popular with visitors, I am sharing it again. I have made some revisions to the original post to account for changes to the game, but there will most likely be some inconsistencies with what’s presented here and the current rules.
THIS SERIES is for idiots like me who suck at deployment, and would like some general advice (learned the hard way) on how to do better. You can find the introduction here. I initially wrote this for for 40K, but it’s relevant, methinks, to similar games, such as Grimdark Future.
10th Edition 40K has done away with the Force Organization Charts that it used in previous editions. The FOC charts divided units into certain categories–HQ; Troops; Elites; Fast Attack; and Heavy Support–and even though those designations no longer exist, it’s still helpful to use them for deployment. Think of them as functions for the various units.
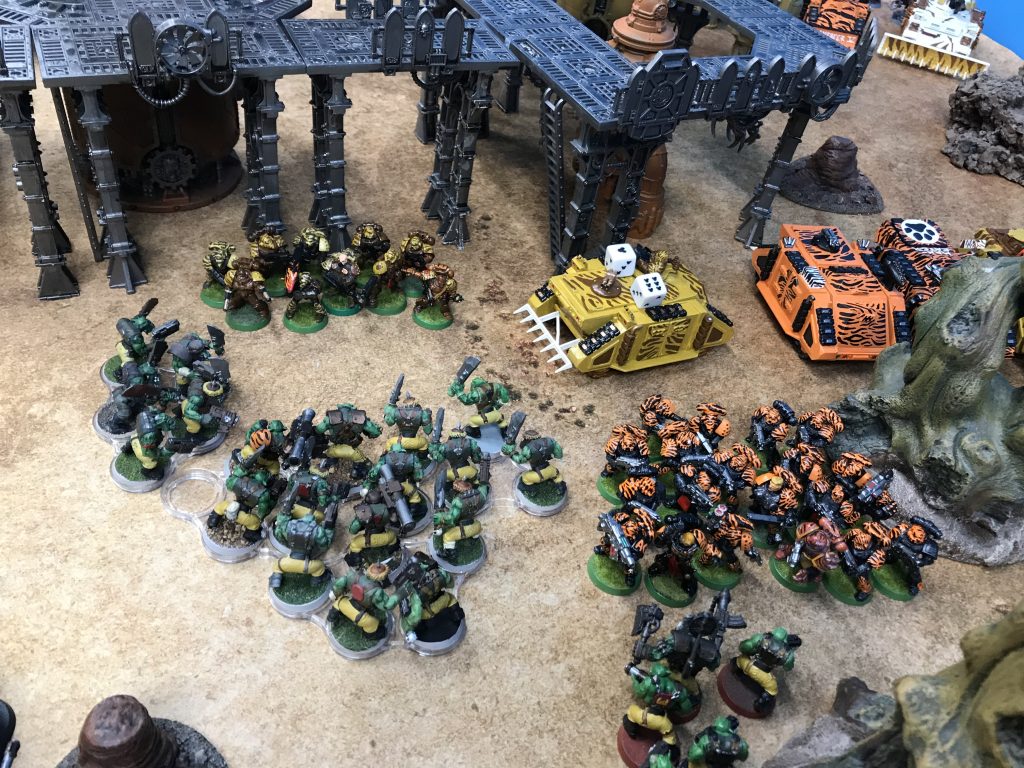
Previously, I discussed best practices for placing Heavy Support units, be they shooty or not. This time out, we’ll discuss the mainstay of most 40K armies, Troops. Remember, I’m not a master player, and this series isn’t meant for master players: it’s for newbies, folks who want a refresher, and dumbasses (like me) who need things explained simply and slowly.
Moving along, then. There is, as even the greenest player will recognize, a wide variety of Troops to be had in Warhammer 40,000: Space Marine Scouts and Tactical Squads; Eldar Guardians and Dire Avengers; Orks Boyz and Gretchin; Tyranid Hormaguants, Termagants, and Genestealers; Necron Warriors and Immortals, and so on.
Troops can be quite good at engaging and eliminating enemy units, but their raison d’etre in the latest few editions of the game has been to take and hold objectives. So despite all the varieties available, Troops can be thought of as belonging to one of three basic types, based on how they carry out their primary function:
- Type 1: Units that take and hold ground on foot, in and near their deployment zone;
- Type 2: Units that move on foot across the table to take and hold ground;
- Type 3: Units that deploy from Transports to take and hold ground.
First, A Word About Objectives
Before we delve much further, let’s discuss objectives. Often, they take the form of counters (varying in number depending on the mission, from as few as one to as many as six or so) that you and your opponent place on the table before the armies deploy (hence the connection).
When placing objectives, take into consideration which type(s) of Troops you have. If you have the first kind—mostly static units that aren’t going to stray far from your deployment zone, if they even leave it —there’s absolutely nothing wrong with placing objectives on your side of the board where your guys can start on top of them or easily reach them.
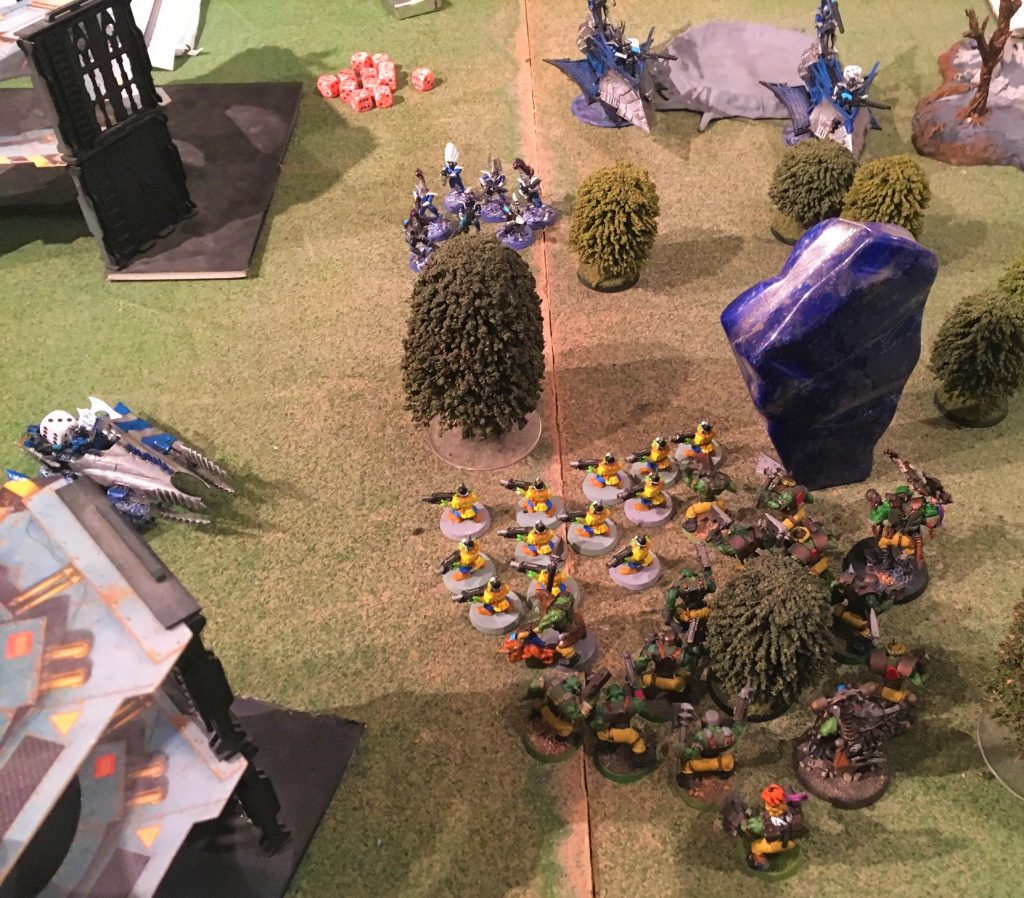
(If you really want to be tricksy, you can put them where your guys start out AND where it’s extremely difficult for your opponent to get to: say, on one of the upper floors of some ruins way back in your deployment zone. Bear in mind that in some games, like Grimdark Future, objectives cannot be placed in deployment zones.)
If your Troops are headed to the other side of the board (Types 2 and 3), there isn’t much point in placing objectives in your deployment zone. Better, then, to put them in the middle of the board or even in the other guy’s zone (if you’re feeling froggy).
To Reserve, or Not to Reserve?
Let’s say you’ve chosen your Troop units, recognized what type they are, and placed your objectives. Now we need to actually start placing units on the table. The next question to address is whether you should keep any in reserve.
If you’re running Type 1, the answer is usually, “No.” I suppose one could make a case for hanging back off the board to avoid enemy fire, then rushing forward to take objectives, but: 1) it’s risky (what if your guys don’t make to where they need to be?); and, 2) your opponent can concentrate their attention (and firepower) on your other units on the board. Trust me, opponents love when they get to fight a portion of your army with all of theirs.
If you’re playing mostly Type 2, the answer is almost always, “No.” You need to get your Boyz/ Gaunts/ whatever to where they need to be, and odds are good that they’re not all that fast. Don’t lose time and valuable real estate by having them start off the board—UNLESS, of course, they have some kind of rule (“Outflank” in previous versions of 40K, or “Ambush” in Grimdark Future) that allows you to place them wherever you like on the table. In which case, they’re best off doing just that.
If you’re using Type 3 units, the answer is, “It depends.” If your Troops are in Transports like Rhinos, Land Raiders, Chimeras, Trukks, etc., then you’ll want to start them on the board. If you’re using vehicles that “Deep Strike” or Ambush or something similar—Drop Pods or Dark Eldar Raiders—you’ll have to (in the case of Pods) or you might prefer to (in other cases) start them off the table (this also applies to Transports [or the units in them] that can Outflank).
Deploying Type 1 Troops
Having discussed objectives, what types of Troops you have, and whether to keep them in reserve, we’re ready to actually place them. Let’s start with Type 1 units: ground-pounders who are going to stay in or move just outside your deployment zone.
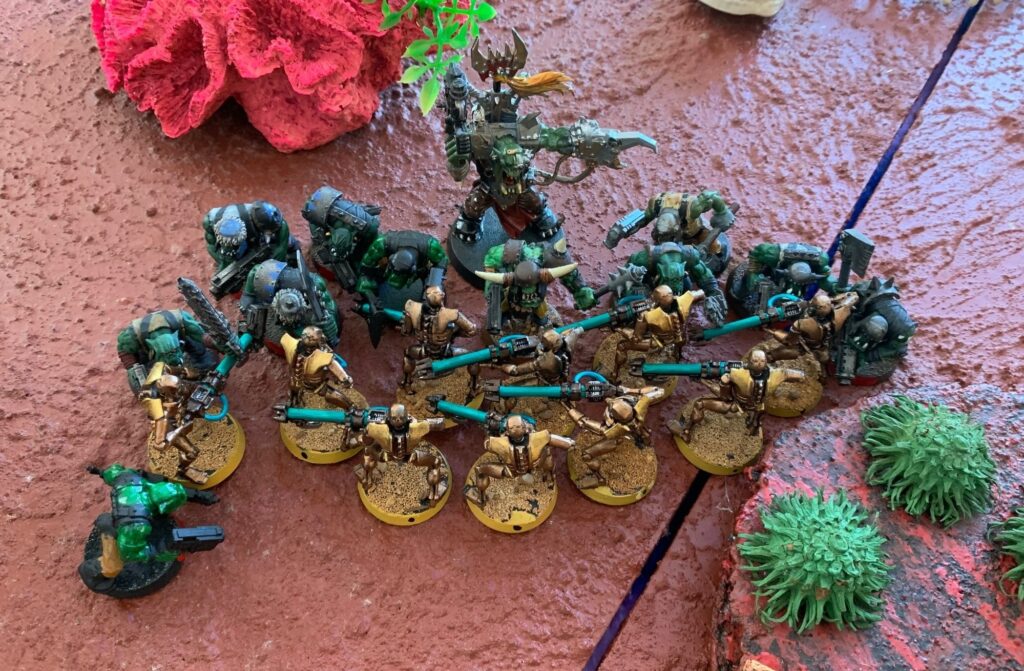
First, pick an objective for a unit and place that unit as close to the objective as possible. The best scenario is to deploy models on top of the objective(s), in your deployment zone. Next best is to be deployed so that your Troops can reach the objective(s) on your first Movement Phase—and remember, some Troops (Space Marine Scouts, Genestealers) may have some kind of “infiltrating” or “scout” rules that let them set up or move closer to where you want them.
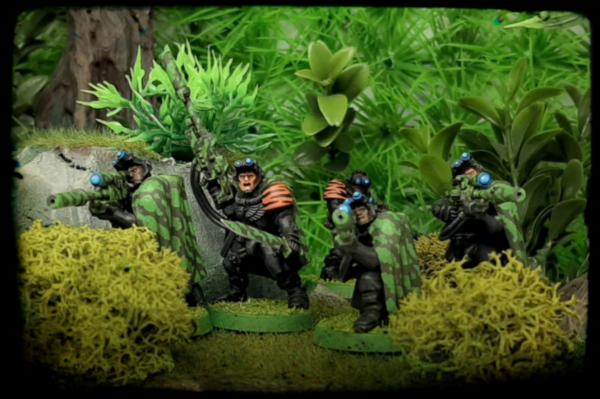
Needless to say (but I will anyway), your Troops should be able to take a straight path to the objective(s): no going around impassable terrain or large enemy units. In many missions, you’re only guaranteed a few turns (typically four or five), so you don’t have time to muck around, even if you run during the Shooting Phase. Go to where you need to, get the objective, and perch on it, if the mission calls for that.
(In some missions, and in the current version [3.4.1] of Grimdark Future, you usually don’t need to hold an objective once taken, so if a Troop unit has secured its first objective, it can go on to other, nearby ones)
If your Troops can deploy in cover, do so, as long as it doesn’t affect them securing objectives. Troops are usually plentiful and relatively inexpensive, point-wise, so if the choice is between taking an objective or being in cover, always pick the former over the latter.
If possible, have Troops support more expensive/fragile units. I mentioned this in the articles about Heavy Support units, but it bears repeating: place your Troops near supporting units that can use the protection. Thus, Gretchin assist Lootas, Tactical Marines support Devastators, Guardians protect Dark Reapers, and so on. Just so long, of course, as the Troops are either holding an objective or are not needed to do so. Objectives first, everything else after that.
Deploying Type 2 Troops
Next, let’s talk about infantry units that are going to cross no-man’s-land and grab objectives in the middle or the other side of the board. Tying into army design (I have warned you that we would reference that from time to time), you’ll want these units to be large and/or tough. No one sweats 10 Orks in flak armor tramping towards them; 30 Boyz will gain some respect; several mobz of 30 Boyz each is much mo’ betta; and mobz of 30 in ‘eavy armor, with an accompanying tide of Gretchin, is best of all.
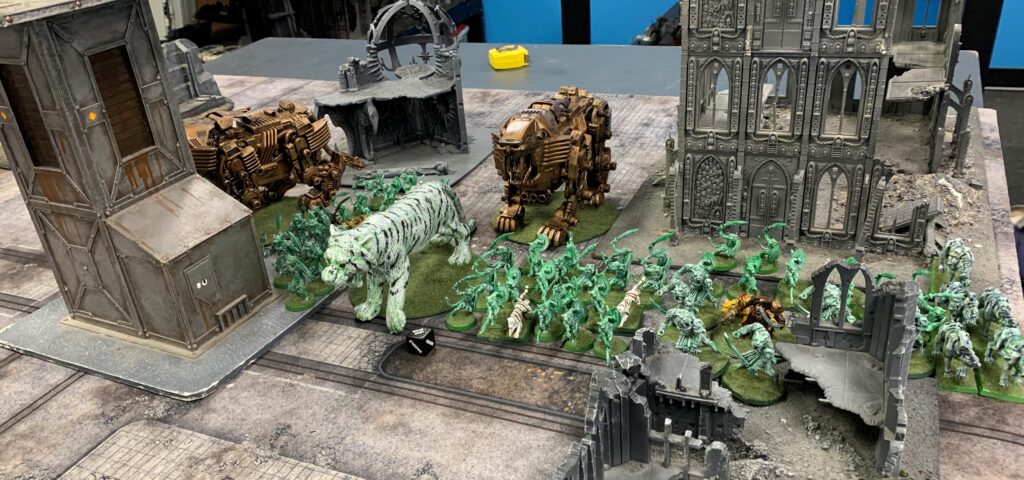
Similar to the Type 1 Troops, you’ll need to get these guys headed on a beeline for their target objective(s). You’ll want them at the forward-most edge of your deployment zone to minimize the distance between them and where they’re going. If there’s cover they can deploy in or move through, fine (so long as you don’t expect it to slow them down too much); if not…well, that’s why they call them “the poor, bloody infantry.”
I’ve had success deploying these units in a long thin line, one member-deep. What also works well is to tramp your guys forward in columns of three or four figures across: when done correctly, you get two, three, or more mobz of Ork Boyz, for example, arriving in an area at the same time. It’s much more effective than having your units move across the board in waves that can be dealt with one at a time.
Deploying Type 3 Troops
Now we deal with those moving across the board in Transports of some sort, whether rumbling Chimeras, sleek Wave Serpents, or anything else. If the Transport will be starting on the table (by your choice, or because it doesn’t have any option not to), then you’ll want it up front, as close to the target objective as possible, in usually a more-or-less straight line from it. Troops, of course, will be inside the vehicle to protect them from enemy fire.
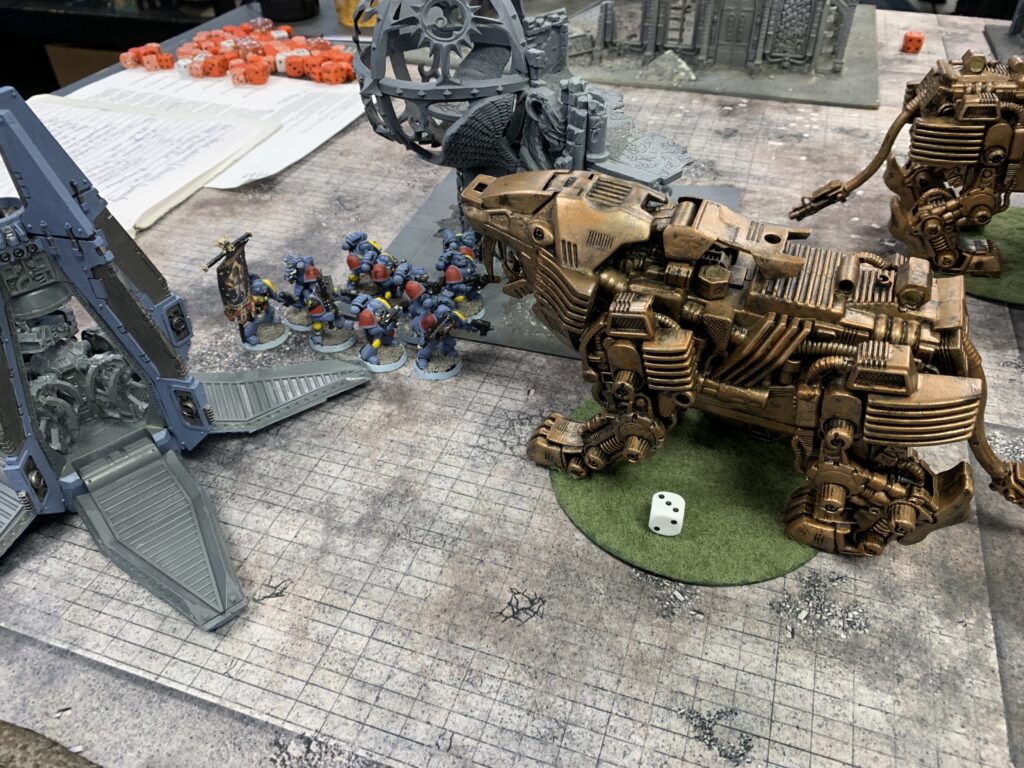
Similar to Type 2 Troops, you probably want to bring more than one Transport: one Rhino isn’t hard to counter; six Rhinos are. If you can place the vehicle in cover or move it through/behind cover as you go, fine. If not, perhaps you have access to smoke launchers or special stratagems to protect your ride.
If the Transports are starting off the table—such as Drop Pods—then the only decision you need make is where to place your unit once it arrives from reserves. Just as with Type 2 Troops, you’ll want to send your Transports to their target objectives straight away. Don’t screw around with the vehicle slowing down to better shoot at the enemy, just get there ASAP, drop off your Troops, and then you can have the vehicle provide some fire support, block line of sight to your guys, etc.
Conclusion
So, what have we learned?
- Make the seizing and holding of objectives the highest priority of your Troops;
- Place them so that they may reach objectives in the shortest time possible, with the least distance to cross;
- Use cover so long as it does not interfere with taking and holding objectives;
- Support other units with Troops so long as it doesn’t interfere with taking/holding objectives.
Next time out, we’ll talk Elites. See you then!
Kenton Kilgore writes fantasy books for young adults and adults who are still young. His most popular novels are Lost Dogs and Stray Cats, and now you can get them both for one low price in this Kindle box set, available only on Amazon for $4.99!

In Lost Dogs, when our world ends, their struggle begins! After inhuman forces strike without warning or mercy against mankind, Buddy, a German Shepherd, must band with other dogs to find food, water, and shelter in a world suddenly without their owners. But survival is not enough for Buddy, who holds out hope that he can find his human family again.
In Stray Cats, cats really do have nine lives–but they live them all at once, on different worlds. This follow-up to Lost Dogs features the adventures of Pimmi across the multiverse as she faces off against a cosmic menace threatening her and everyone she loves. But against such power, how can one small cat–even with nine lives–prevail?
Included in the boxed set are:
- An alternate ending for Lost Dogs;
- Lost Dogs original (2014) cover art;
- Excerpt from Kenton’s next fantasy novel, The Scorpion & The Wolf (coming 2024);
- Artwork from The Scorpion & The Wolf, by Alyssa Scalia
Dog lovers love Lost Dogs, and fans of felines adore Stray Cats. At last, you can have them both at one low price–get them now!
